If you are working on heavy battery terminals, such in a vehicle here's some thoughts:
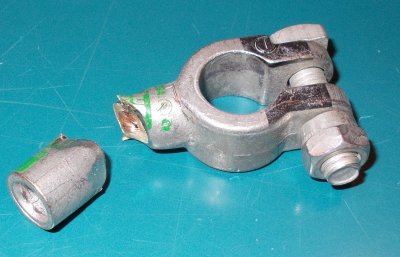
Both cables needed to be replaced by dressing and cleaning the corrode cables and terminating them with the proper connector to tighten on the battery terminals. The Author had a vender attempt this. Apparently, they grabbed the wrong type of terminals. The make matters worse they "selected" the wrong die size on one connector; kept squeezing the crimp until it literally cut the connector tail in two. Therefore, the Author decided to post some thoughts on proper installation of these connectors.
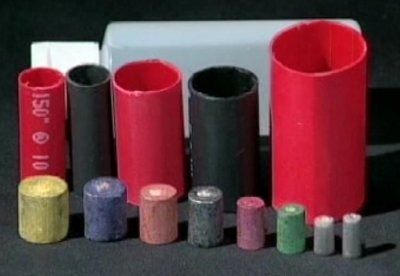
There are currently two types used
Shots and the shrink come in sizes for the wire and are color coded in this case.
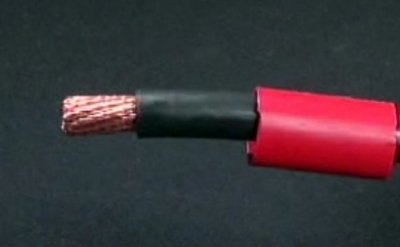
Match the cable to mark where to start the strip-back.
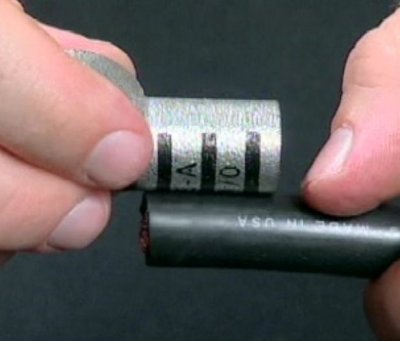
Insert the stripped end to confirm the correct strip.
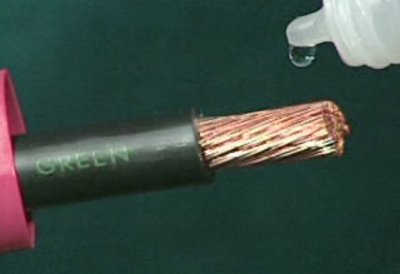
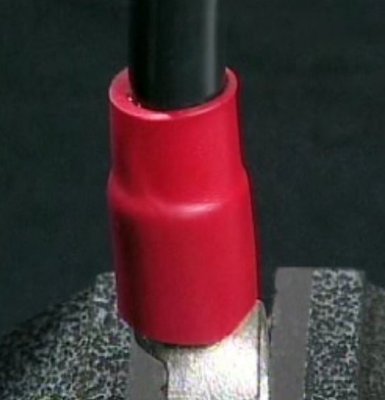
Install the heat shrink.
Add a few drops of liquid solder flux.
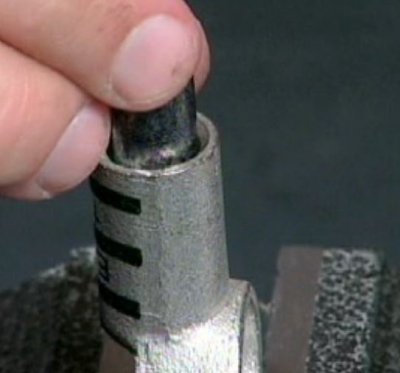
Place the correct (size) shot in the end of the connector.
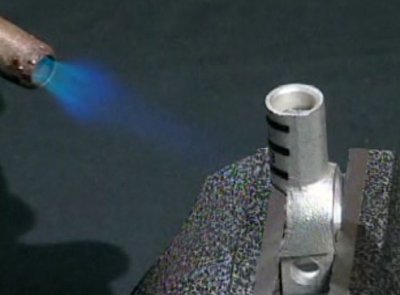
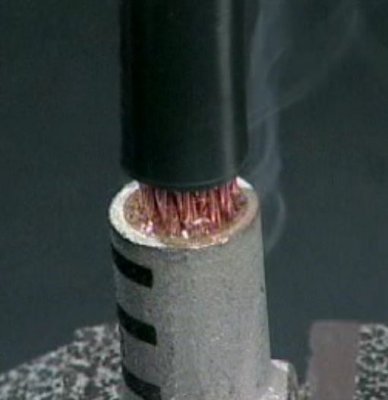
Heat the terminal end so the solder starts to melt.
Insert the (prepped) wire into the end, letting some of the solder "wick" up into the wire, then push the wire all the way in so the outer insulation touches the connector end.
Slide the shrink down on the connector tail and heat gently for it to shrink to it and the wire outer jacket.
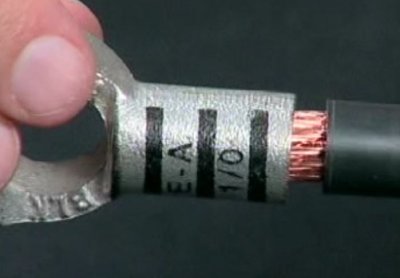
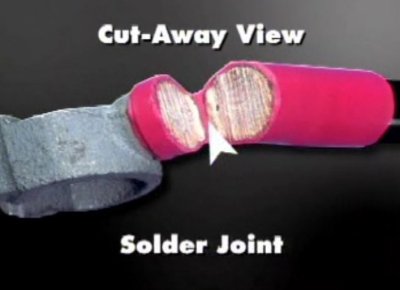
Her's a cut a way view of a proper wire termination.
Here's a clever idea. Ever wonder if your Weller solder station is really working? Put a 1 ohm shunt resistor in series with the 24v loop feeding the tip, then put an LED across that shunt. There's just enough voltage drop to run it. While you have the unit apart why not install a green one to indicate there is 24v power to begin with. (use the appropriate series resistor for the green one, of course.

![[SRG home Direction]](images/srghome.gif)