I bought my first trailer in 1984 to haul my little Yami SM292. With the newer sleds, being much larger, (and heavier, I might add) the trailer needed some modifications. For this project I used a '97 AC Powder special 580 with a 136" track. Not sure if I wanted to have it tilt, or with a ramp, I came up with (sorta) both. My design was both a tilt and "turntable" swivel, kinda like the "batman" cave thing. The idea was I can drive on and drive off. The one trick (I have not perfected) is low resistance while turning the table. So far plenty of grease does the trick, but road grime and rust is giving me a challenge. Anyway here's the prototype I built in the second week of December 2001. Just for fun, I ran over a scale to check on my loading, which appears to be within 100 lbs. under of the maximum rating of the original trailer spec of 1,000 lbs. Here's the figures I created in a nice table:
|
Arrangement |
weight |
Notes |
|
Original trailer in 1984 |
150 |
Est. gross |
|
Trailer extra frame work |
330 |
Est. gross |
|
Trailer only |
480 |
Gross |
|
Trailer only loaded on hitch |
460 |
Axle |
|
Hitch/tongue weight |
20 |
(gross-axle=tongue) |
|
Sled on trailer, loaded on hitch |
1020 |
axle weight |
|
Sled on trailer,loaded on hitch |
1060 |
Est. gross* |
|
Sled only |
580 |
Gross/wet |
Original rating of trailer (pay load) is 1,000 lbs. Therefore, my arrangement is within 100 lbs of maximum pay load.
* When adding the load (Sled) and the empty trailer axle to the tongue you add the figures as double, therefore add 40 lbs. of tongue to get the gross (20-trailer+20-sled tongue=40 in theory adding to get gross).
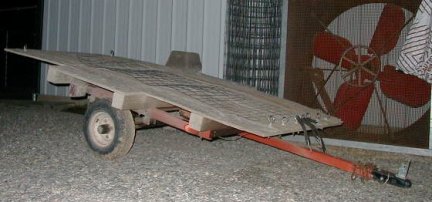
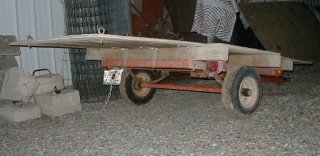
Here's the trailer I started with, which I bough new in 1984
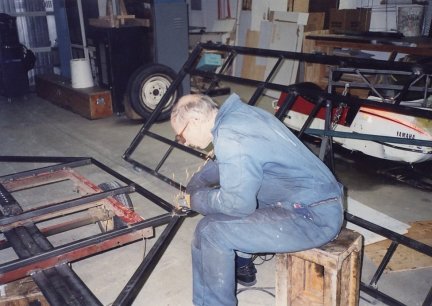
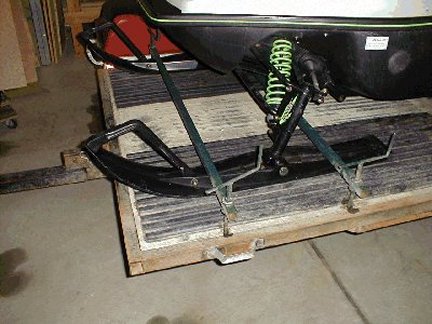
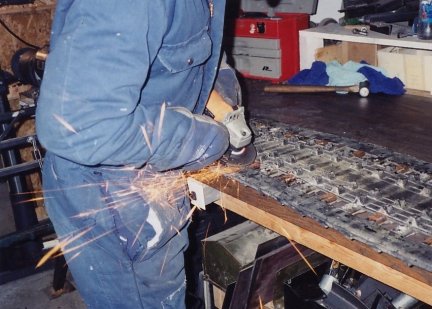
For the turntable I built a lower frame and welded it to the original frame (in red). It has several 3/4" holes (for one-time tilt adjustment) on the lower frame. Then I built a top frame that is the swivel part. The top frame has a 3/4" bolt that goes into the lower "plate" to swivel on. Here I'm doing some grinding off the rough edges.
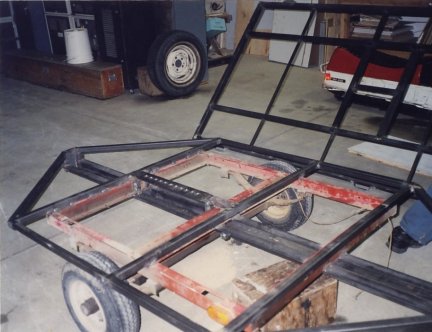
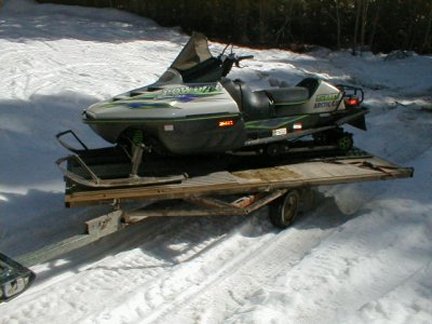
Here's the completed lower and upper frame,and the locking system. Also here are the tie-downs for the skis. I prefer the redundancy of two bars. The nuts they go into are welded on a cross member under the floor.

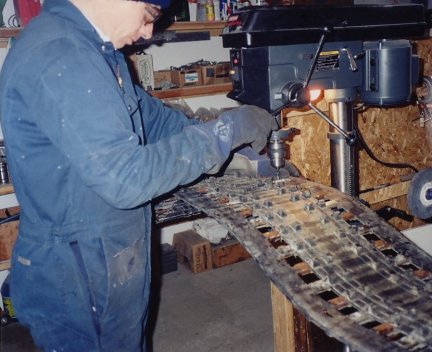
Next I needed good traction up the middle when loading. I bought a cheap, old track, and cut it up in two (which I hated to do) and grind off the alignment clips. Then I drilled a hole in every other clip.
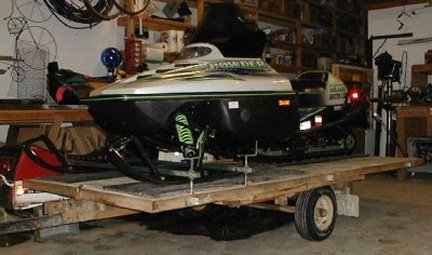
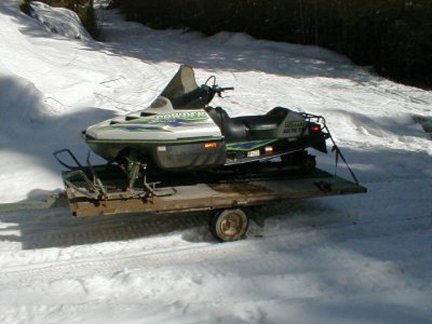
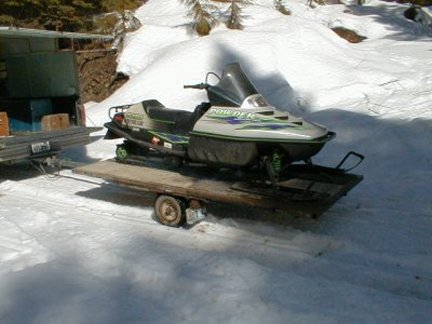
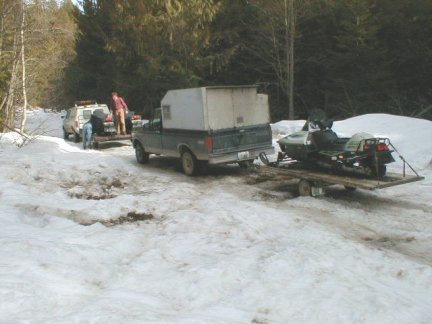
Then I screwed it down to the painted, plywood deck.Here's the sled, loaded and ready to head out.........and indeed, here's the unloading area at the bottom of the hill. I start up the engine for a little warmup.....put most of my other gear on........
In a few minutes I'm ready to unload, so I release the pin for the turntable and pull it around...until it's facing to the rear........
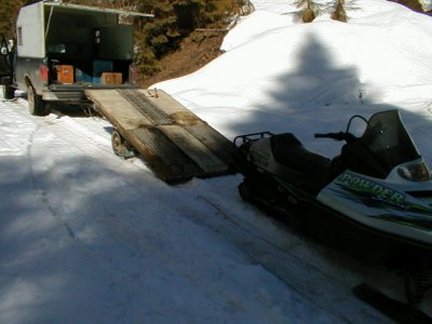
Then I pull the second (tilt) pin. The top frame (bed) is balanced to stay in place until I jump on the sled and give it a little gas, then it tills down, so the sled (from the angle down) starts to roll off the bed. I just give it a little gas to get off the bed entirely onto the ground.
At the end of the day comes, I tilt it back level, turn it around forward, tilt it back to the ground. Again, the bed is balanced to either stay upright or down to the ground without holding it, therefore, everything can be done solo. I just drive the sled up onto the table. Normally when I hit the brake that's just enough to "throw" the weight forward enough to tilt the bed back level. I shut down and secure the pins. Sometimes I end up a little too far forward to make sure it tilts level, so I push (or pull) it back a few inches (by hand) for securing. I secure the bars, rear straps and I'm ready to head home. Oh yes, remember to turn the gas valve off in the sled.
Later, I ended up
rebuilding the turntable, with some extra features.Back to Karl's sled Page page.
![[Karl's sled page]](images/winter_home3.gif)