
Note: this page is best viewed in 1024 x 768 resolution using either Netscape 4.x or I.E. 5.x or later.
Even though I'm doing this on a Cat "9-tower" clutch the same tips can apply for most any brand of clutch.
While the big pictures are loading I can tell you it's been fun doing some of the tuning on my sled, especially the clutch part. You can change them with the clutch left on the crank shaft. You just need some patience and be careful not to drop a part down inside the clutch. If you do you will need some very long nose pliers and maybe a magnet. Good lighting really helps. In my case I use a double work light on a stand, which also doubled as a mild heater for the locktite to dry.
These pictures are very big, for the detail to help you see what's going on, so if you have a slow connection (like I do) they will take a long time to load, so go get a cup, watch TV or something for about 15 minutes. It's a long time, but worth it. You've been warned, hee,hee, so when they are loaded, lets scroll down to the first one.
I noticed my rpm was a little low; spec calls for 8000-8200, so I decided to buy another set of weights and install them. I figure roughly about 200 rpm change for each gram change.
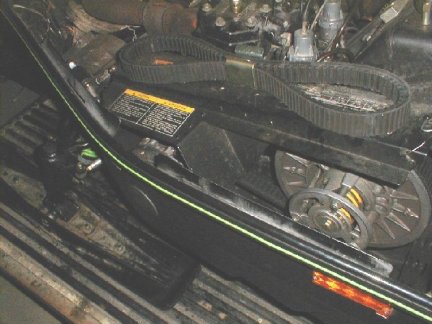
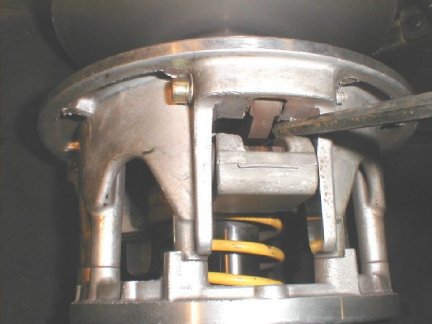
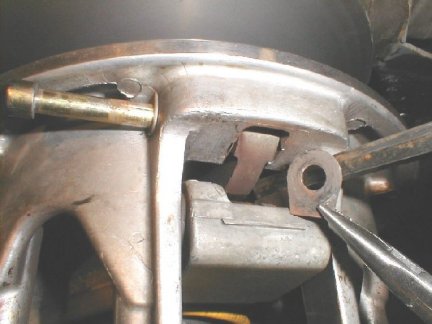
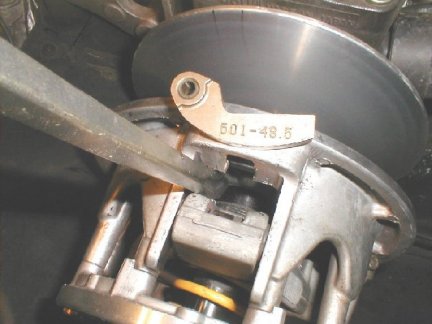
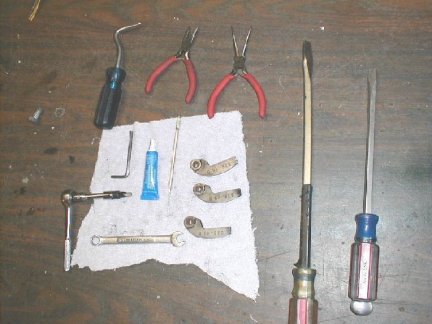
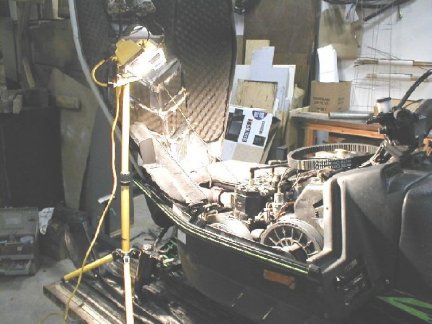
First here's the overall picture of the project, with everything in it's normal position.
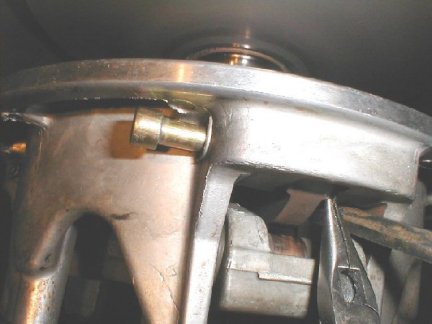
After removing the belt and starting with the first weight, remove the nut/bolt assy. Here's my set up; I use a torx 25 or 27 (? I'll have to check on the size). with a 1/4" socket (with electrical tape to hold it in place) to convert to a standard drive. I use a 3/8" open end to hole the nut. At first it will be really hard,because you will need to "break" the locktite from the previous installation.
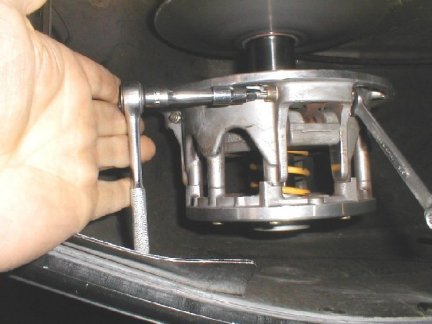
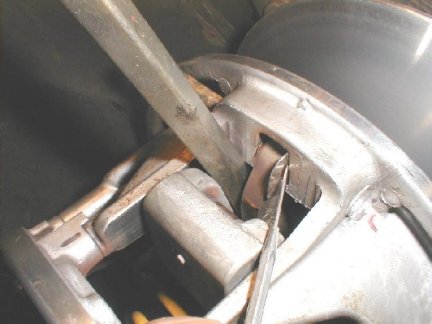
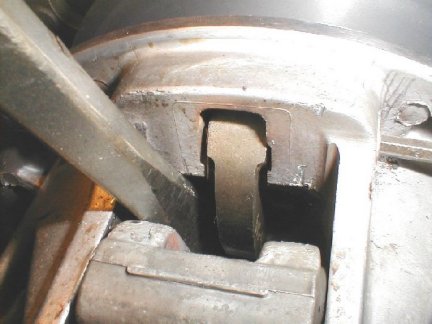
Here's a closeup of my wrench setup.........After removing the nut, you need to separate and hold the halfs apart (somewhat, not all the way) to relax the weight, so it can be removed. I use two large screw drivers, one on the side, pry it open a little and stick the other one on the other side. Opening and holding it with the screwdriver about 1/2" is usually sufficient.
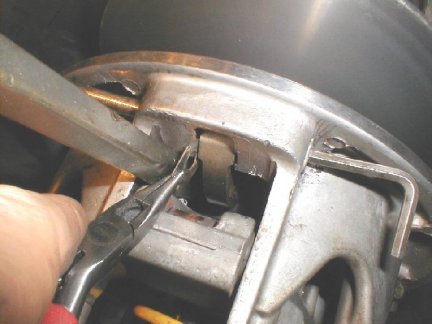
When you start to pull the bolt out, hold on to the first shim (it's real flat) with a good quality grooved long nose. Pull the bolt out just enough to release the shim, but not enough to let the weight fall down into the clutch.
Sometimes a shim will be stubborn and wont want to flip out, so you can grab with. One method I use a handle with a hook to turn it.Lay the shim down.
Another old reliable method I use a denture pick to dig it out, enough to loop it and then grab it. To prevent the weights from falling, I run another "bolt" such as an Allen wrench on the trailing end, enough to hold the weight. While I grab the other shim I can pull the bolt out all the way. Then I grab the weight and pull out the Allen wrench and pull out the weight.
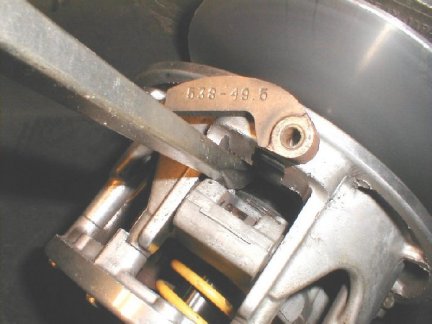
and vola! Here's the old weight, all 49 1/2 grams of it. Ready to install the new 48 1/2 gram weight.
I do pretty much the reverse; I grab the new weight hold it in position, while running the Allen wrench in the trailing end to hold the weight. I release the weight, then grab a shim, hold it in place, which I run the bolt in, past it and start into the weight. At this point you can take out the Allen wrench on the trailing side. Hold the other shim in place and run the bolt all the way in.
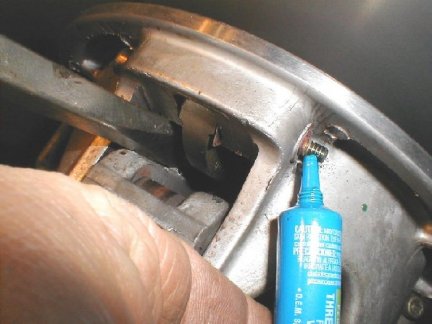
A little dab of locktite. Normally you would use "RED", as you can see the residual on the thread, however, I plan to do a little more tinkering, so I used "GREEN" or (even "BLUE"). I want to run with this to see what the rpm will be, then make adjustments. When I'm finally done I'll use NEW nuts (recommended) and "RED" locktite.

I don't like using the large screw drivers, because I always seemed to get little scratches on the clutch's surface. Fortunately, this area does not play into contact, just looks a little crappy, but I'm picky.
Here's the tools I've been using. That's the old weights. With about 700 miles on them the bushing are showing some wear. I might replace them the next time I use them. Bushing are cheap and fairly easy to install.

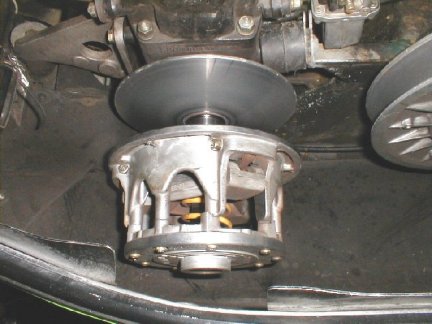
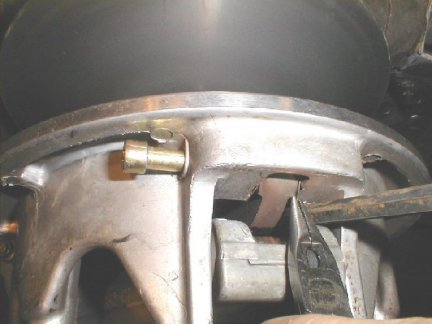
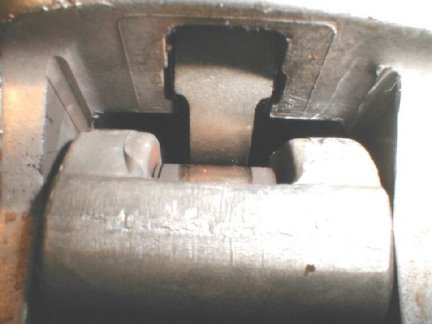
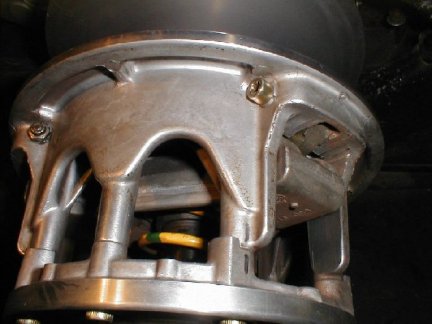
Just another look. When you pull the big screw drivers out, take it easy and rock each driver out. At this point the clutch is fully open there will be a small gap between the surface of the weights and the roller. I'm not crazy about this, but apparently is normal. Of course, when you run up the rpm they will close up on engagement. Here's a look on the proper bolt/head/nut arrangement. The head should be on the leading direction of engine turn. You also can see I'm running a yellow/green spring.
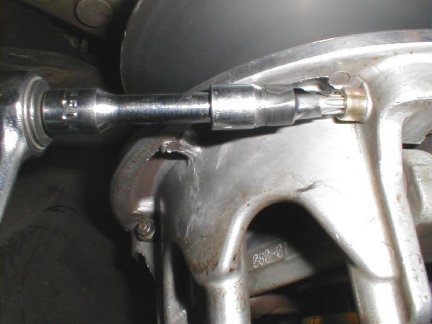
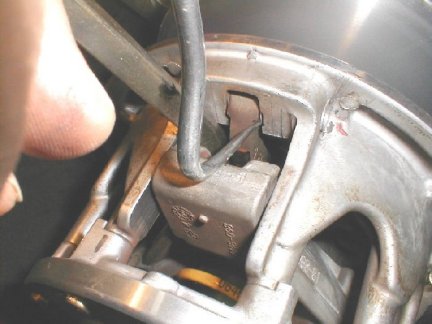
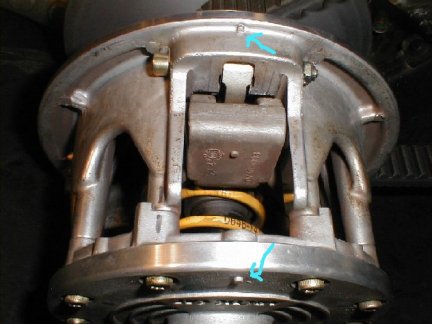
Another point; if you look closely you'll see two "timing" marks, one on each half of the clutch. Is it to help with proper assembly in the event you have the clutch apart, for proper balancing. I've never had it together wrong, but "they" say if you do, it is possible to have some disastrous effects. I drew little blue arrows to locate these marks.
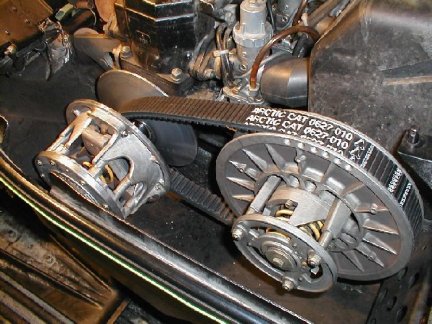
Here's it back together, with a new belt. Just waiting the locktite to dry, and will be heading out to try the new weights ! It was a little cold that night in the shop (60F), so I left on the work lights, acting as mild heaters, for the night for the locktite to dry.
![[Kar's sled page]](images/winter_home3.gif)